Ensuring your fence posts stand the test of time is no easy feat. One way to ensure a strong, durable foundation for years to come is to firmly mount them in concrete. The task itself may seem intimidating; however, with the right instructions and a bit of patience, you can make setting up your fence feel like a walk in the park. Here we explain the step-by-step process to get the job done.
Supplies Required for the Job Ahead
-The Art of Hole Digging with a Post Hole Digger.
Understanding the scale of the space to be fenced is the initial step in the process. Once this is figured out, you can calculate the required length of your fence so that appropriate-sized holes can be dug for the posts. Once those measurements are nailed down, it’s time to jump straight into digging!
Crafting a secure installation means taking note of the depth of each hole. For an ideal setup, one-third of a post’s overall height is an appropriate measure – for instance, if the post is six feet tall, two feet should be the desired depth for its hole.
With the holes finally dug, you can now move on to blending the cement. Read the back of the bag carefully in order to mix up the components accurately. After this step is complete, it’s time to fill the holes, one by one.
To ensure that the cement is properly inserted, you should aim for its level to be two inches beneath the top of the hole. This will help you to keep sufficient room for pouring and mixing the water. Then, with your trowel, stir together the cement and water until they are oxidized.
It is time to commence the process of setting the posts into the holes. You must double-check that the posts have been properly levelled in place; use a leveller to guarantee accuracy.
You did it! After the holes were dug and the cement was set, you can now proudly attach your fence posts to the concrete. Well done—you’ve successfully mounted your fence posts!
Related Product
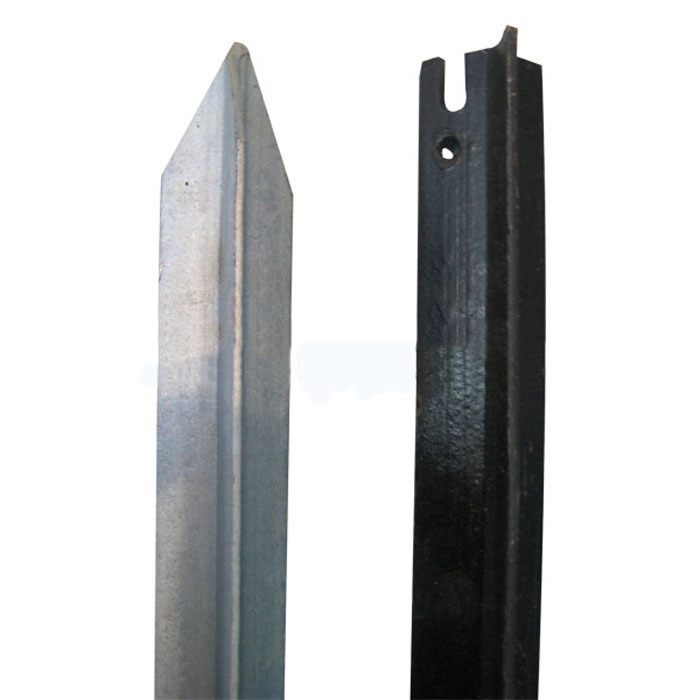
Y Post
Length:1.35m,1.5m,1.65m,1.8m,2.4m etc Weight:1.58kgs,1.86kgs,1.9kgs,2.04kgs/m etc Surface:painted, Hot dip galvanized, No paint Usage:farm fencing,garden fencing Packing:400pcs/pal […]
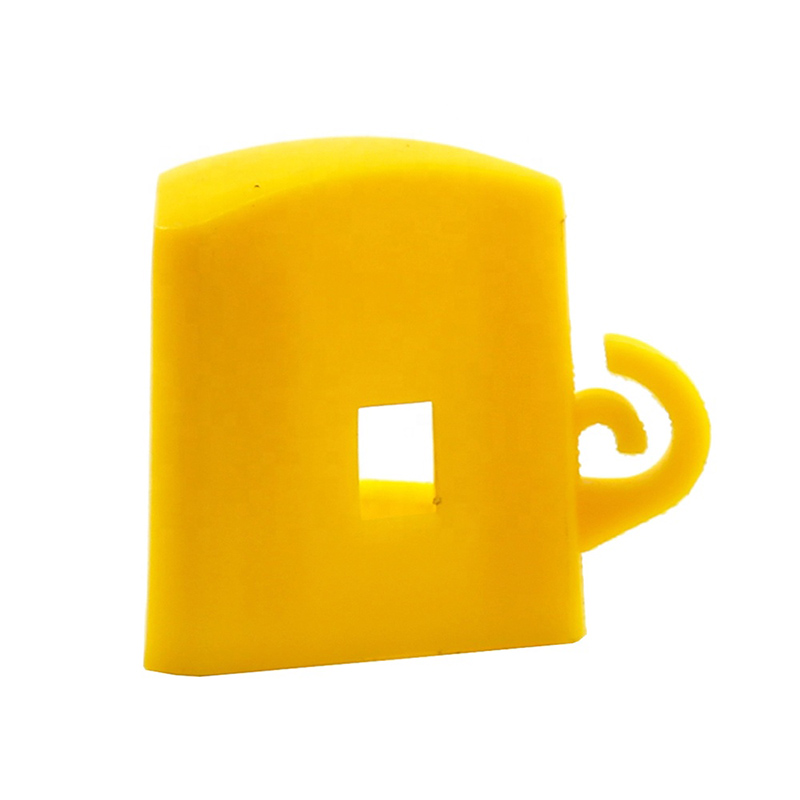
Y Post Cap
Y Posts Caps is also called safety cap or Star picket caps. It used for Y star picket . It can cover sharp edges of Y posts. Type Size(L x W X H) Thickness Weight Round 57x57x60mm […]
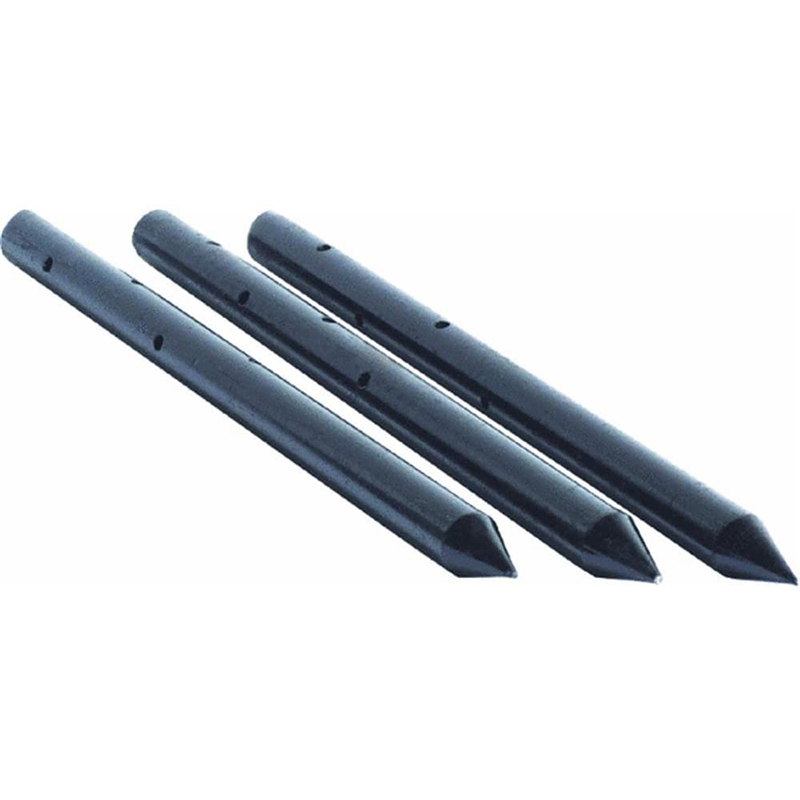
Nail Stake
Product information: Description Unit Pallet Weight(kg) 3/4″x12″ 10pcs/box 150boxes/pallet 0.6200 3/4″x18″ 10pcs/box 100boxes/pallet 0.9250 3/4″x24 […]
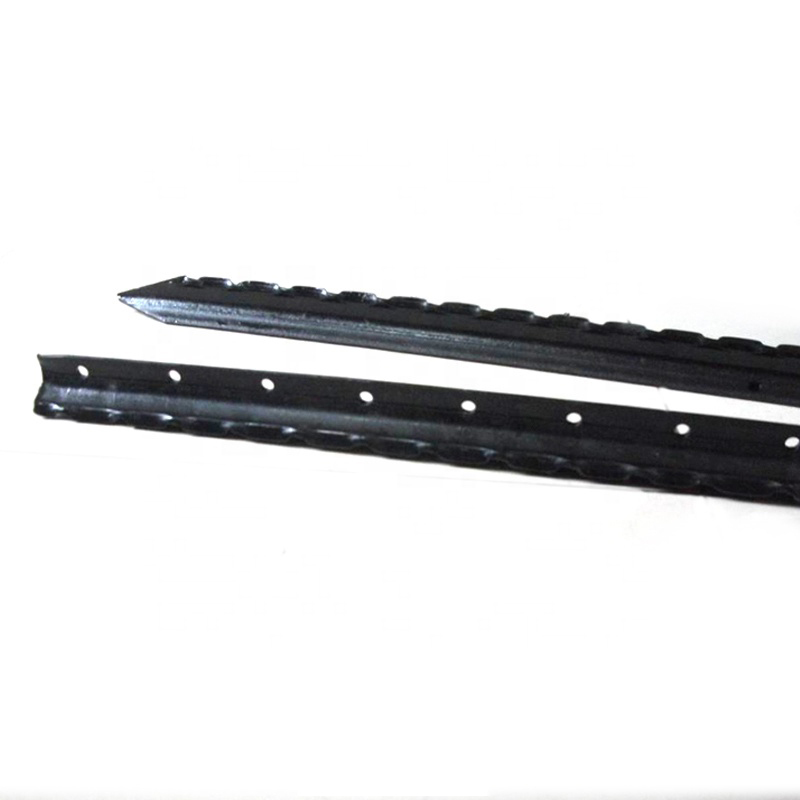
Israel Y Post
Y post with teeth provides the most reliable way of fencing wire attachment by threading the wire through the holds along the post, gripping the wire with is specially designed tee […]
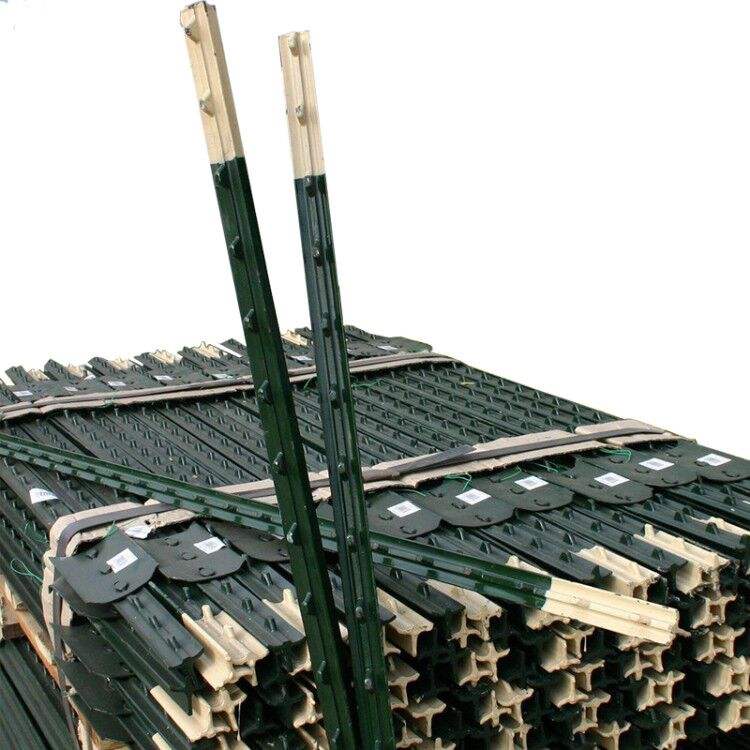
T Post
Material: rail steel Weight: 0.85,0.95,1.25,1.33lbs/ft etc Length: 5′-10′ etc Surface: painted with spade,painted no spade,unpainted with spade,unpainted without spade,hot-dipped g […]
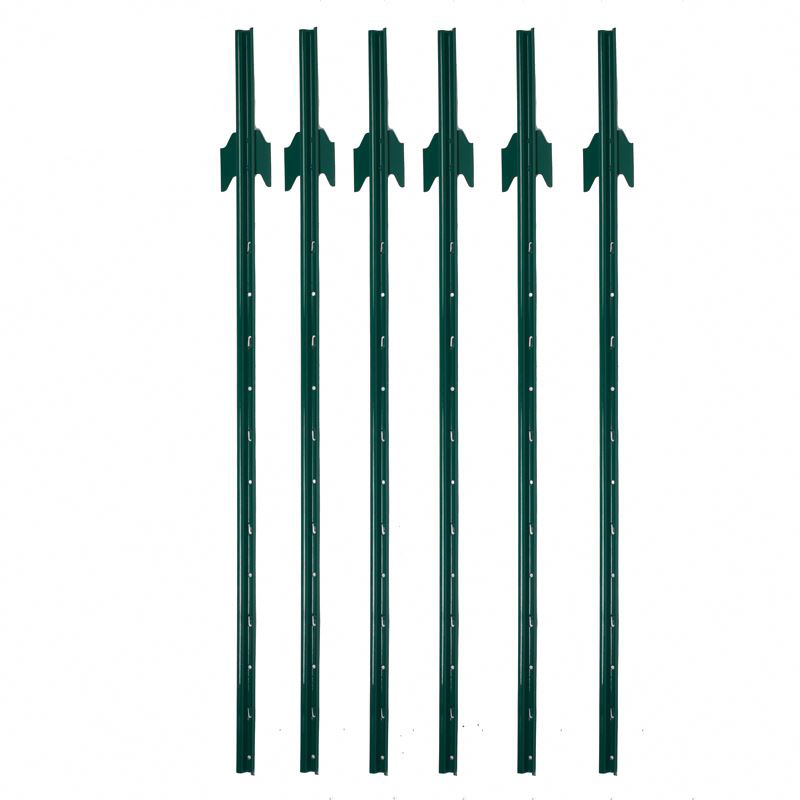
U Post
Heavy Duty Garden U Shaped Steel Fence Post With Spade Shape: U shape, with or without spade Material: low carbon steel, rail steel, etc. Surface: Powder coated Advantage: Easily A […]
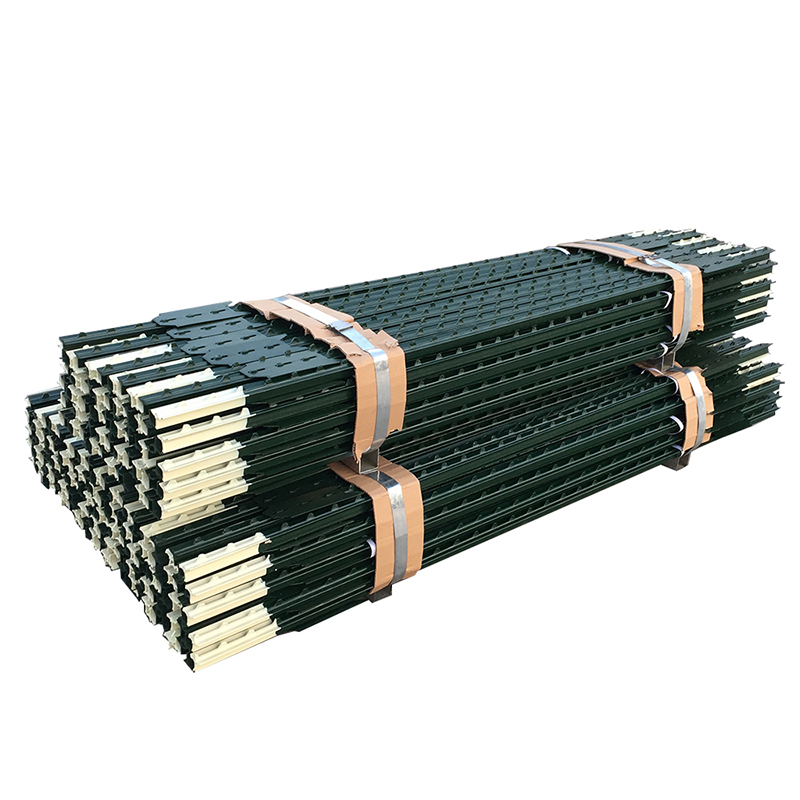
Studded T Post
material: rail steel weight: 0.85,0.95,1.25,1.33lbs/ft etc length: 5′-10′ etc surface: painted with spade,painted no spade,unpainted with spade,unpainted without spade,hot-dipped g […]
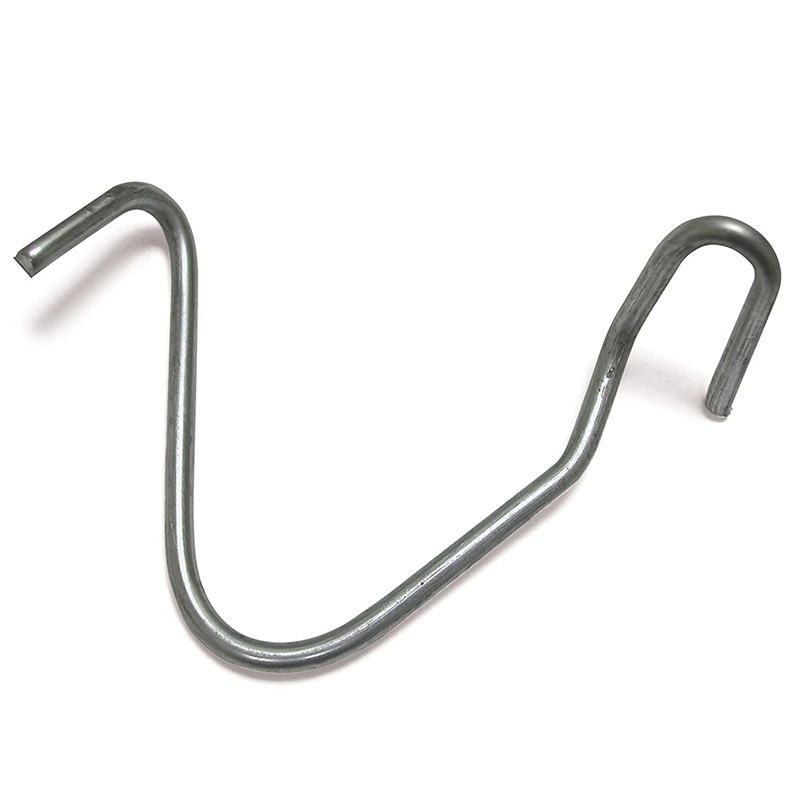
T Post Clip
These heavy duty T-post clips fit standard size 1.25 and 1.33 lb. studded T-posts. Manufactured from 11-1/2 gauge wire that is Hot-dipped galvanized, these clips are designed for f […]
Post time: 2023-06-23

