Creating sturdy fence posts requires precise hole digging. When this step isn’t completed carefully, the resulting fence is weak and vulnerable. Fortunately, by equipping yourself with the right tools and understanding, working to establish a fence can be made much easier.
Planning the perfect fence starts with determining where it will be located. You can outline your desired perimeter with string and stakes for accuracy and to get a visual of the space. Then, while taking into account the type of fence you’re setting up, decide on a post placement interval of roughly 8 feet apart. This is just an estimate, however, so you may want to do further research on the specifications for specific fences.
With the destination determined for your posts, commence the excavation. The depth and width of the hole you dig is dependent upon the type of post and the composition of soil. Generally, two feet in depth and a foot in width should be sufficient for most posts. Additionally, ensure that the four walls are vertical and the base is level.
When you need to dig a post hole for your fence, you’ll want to be prepared with the right tools for the task. A shovel can certainly do the job, but a special tool called a post hole digger can make light work of the chore. Post hole diggers do the legwork for you by digging fast and true, allowing you to easily achieve perfectly straight and even holes.
After the groundwork has been done and the holes have been dug, they must be filled to create a stable and secure base. The best material to use for this purpose is a combination of gravel and soil which support the posts while maintaining their position. If more strength is required, concrete mix may also be added into the equation. All of these components, along with the specific type of post being used, guarantee a strong and reliable hold.
Once all your hard work is done with filling in the holes, it’s time to secure your posts. Ensure they are properly aligned and upright using a level as you go. To ensure a strong hold, you have two choices – using a sledgehammer to pound them into the ground or a posthole digger to really get them stuck in there!
All that remains to be done is securing the fence panels to the posts. This will require supplies such as screws, nails, or other fasteners, based on the type of fence you are installing. When the panels are installed, take a moment to appreciate the thoughtful craftsmanship and enjoy your handiwork.
Although it can be daunting to tackle the job, putting up a fence post requires minimal effort when one has the appropriate tools and information at hand. If you take your time and are mindful of what you’re doing, you can swiftly and properly finish the task.
Constructing a fence requires more than simply laying the panels and railings in order; building a lasting wall begins with digging solid fence post holes. Making sure each hole is properly dug is key to having a fence that will not come tumbling down. Therefore, if you are wanting to put up a fence yourself, it’s essential to learn the right method of digging the post holes for maximum stability.
Before you start any digging for fence post holes, know the dimensions of the posts you plan to use. The holes must be slightly wider and deeper than the posts, so their size should take this into consideration. Generally, it is best practice to make the holes 8 inches wide and approximately 24 inches deep. This will give the post space to settle and stay secure.
Once you know the measurements of the post holes, it is time to get your hands dirty and start digging. The most convenient choice for the task is a post hole digger – a device equipped with two handles and a scooped end. To dig the hole, all you need to do is push it into the earth and twist both handles in different directions so the soil is stirred up. If a post hole digger isn’t available, then grabbing a shovel works too.
In order to ensure the stability of the fence post, the hole should be dug carefully and straight along the sides. Furthermore, it is imperative to make certain that the depth of this excavation is sufficient; a hole that is not deep enough may cause the post to be unstable and start to lean over time.
After you have completed your excavation work, layering a bed of gravel in the bottom of each hole can secure your posts and enable drainage. Then, make sure each post stands firmly and upright before adding soil back to the hole. This step is crucial for stability and security.
As the final stage of preparation, it is essential to pack down the soil around the post to guarantee that it stays in place. Doing this can be accomplished with either a tamper or a shovel – it all depends on your preference. With the posts fitted and the earth tightly packed, now we can proceed with erecting the fence.
Before erecting a fence, it’s critical to properly prepare the necessary fence post holes. The right size and foundation for the holes is essential for ensuring a secure fence that will remain standing for years to come. With proper foresight and attention to detail, any homeowner can complete this task with ease.
Related Product
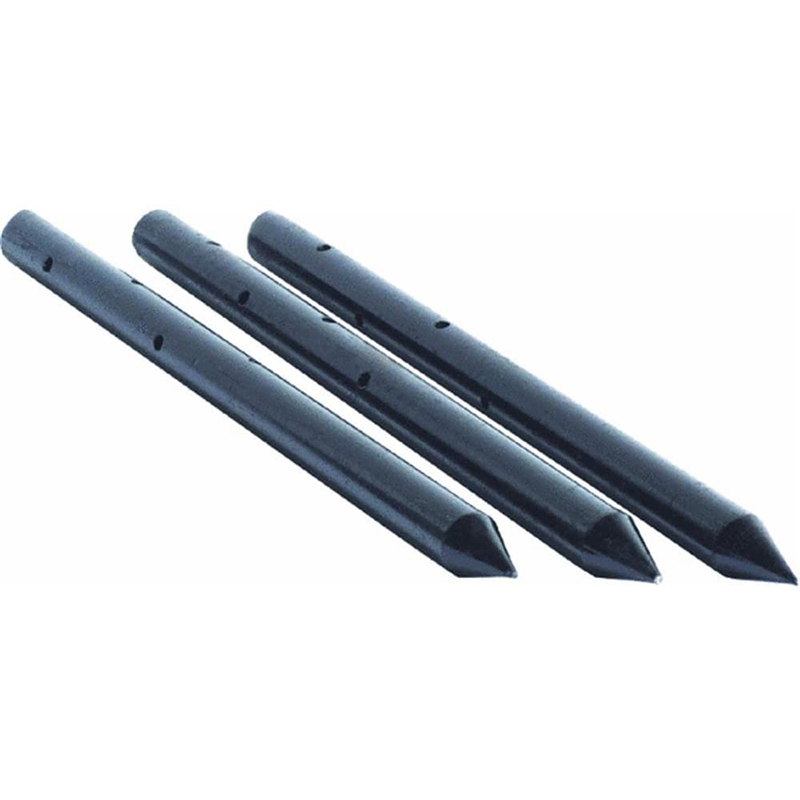
Nail Stake
Product information: Description Unit Pallet Weight(kg) 3/4″x12″ 10pcs/box 150boxes/pallet 0.6200 3/4″x18″ 10pcs/box 100boxes/pallet 0.9250 3/4″x24 […]
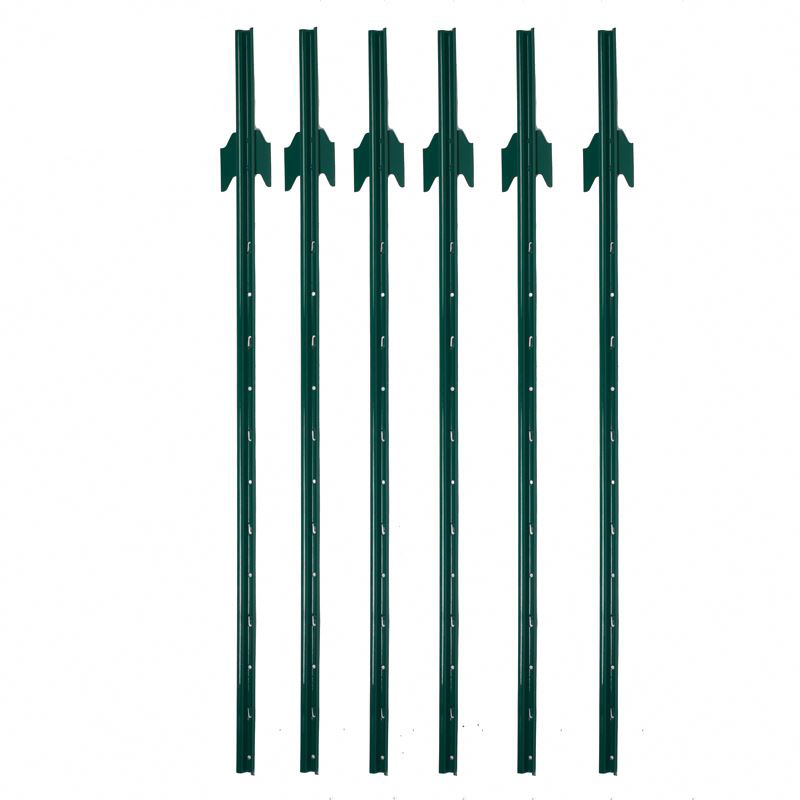
U Post
Heavy Duty Garden U Shaped Steel Fence Post With Spade Shape: U shape, with or without spade Material: low carbon steel, rail steel, etc. Surface: Powder coated Advantage: Easily A […]
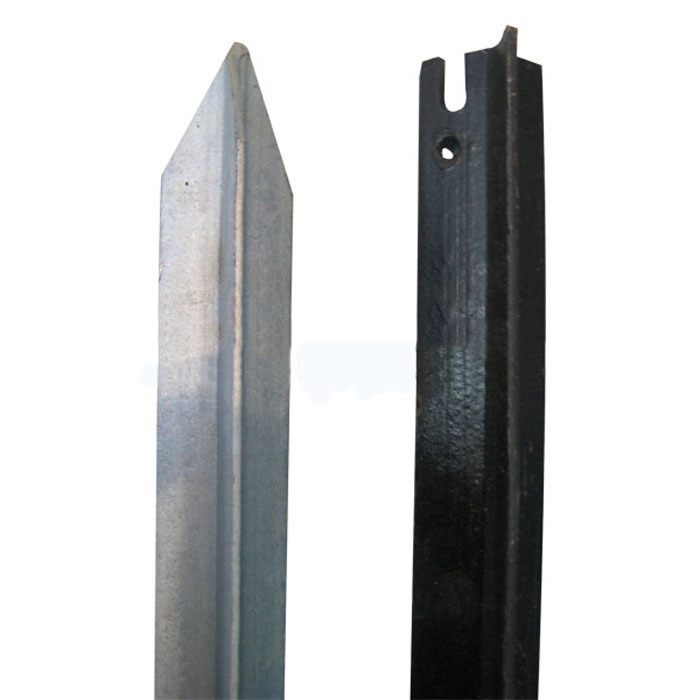
Y Post
Length:1.35m,1.5m,1.65m,1.8m,2.4m etc Weight:1.58kgs,1.86kgs,1.9kgs,2.04kgs/m etc Surface:painted, Hot dip galvanized, No paint Usage:farm fencing,garden fencing Packing:400pcs/pal […]
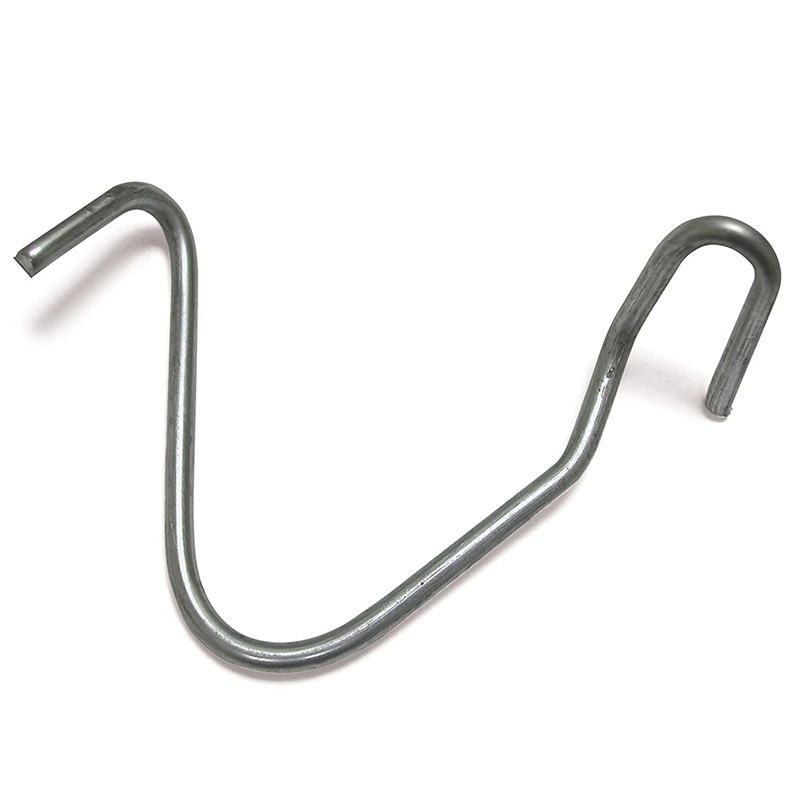
T Post Clip
These heavy duty T-post clips fit standard size 1.25 and 1.33 lb. studded T-posts. Manufactured from 11-1/2 gauge wire that is Hot-dipped galvanized, these clips are designed for f […]
Y Post Cap
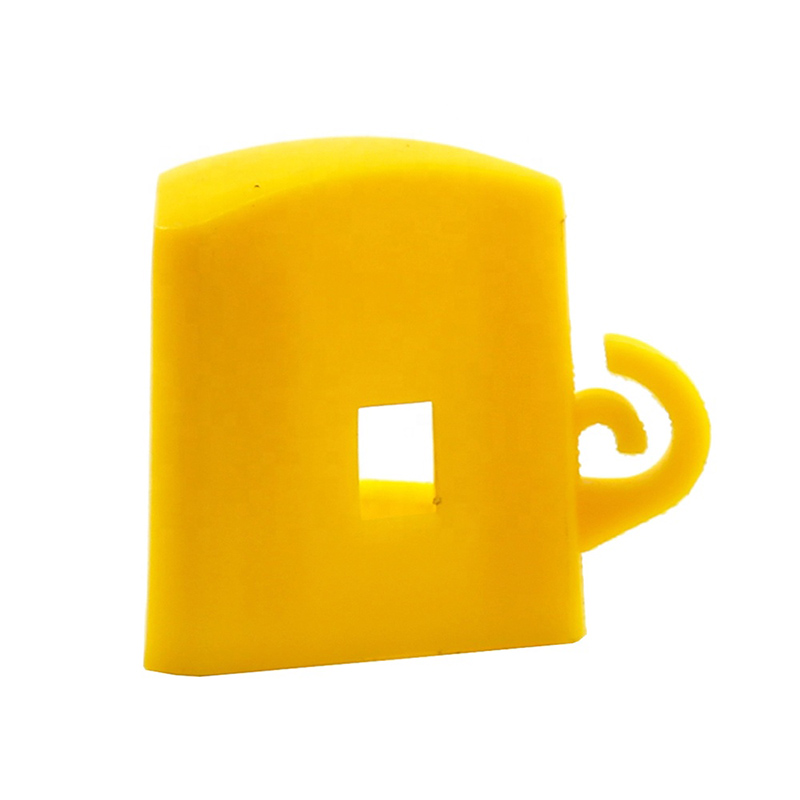
Y Posts Caps is also called safety cap or Star picket caps. It used for Y star picket . It can cover sharp edges of Y posts. Type Size(L x W X H) Thickness Weight Round 57x57x60mm […]
Studded T Post
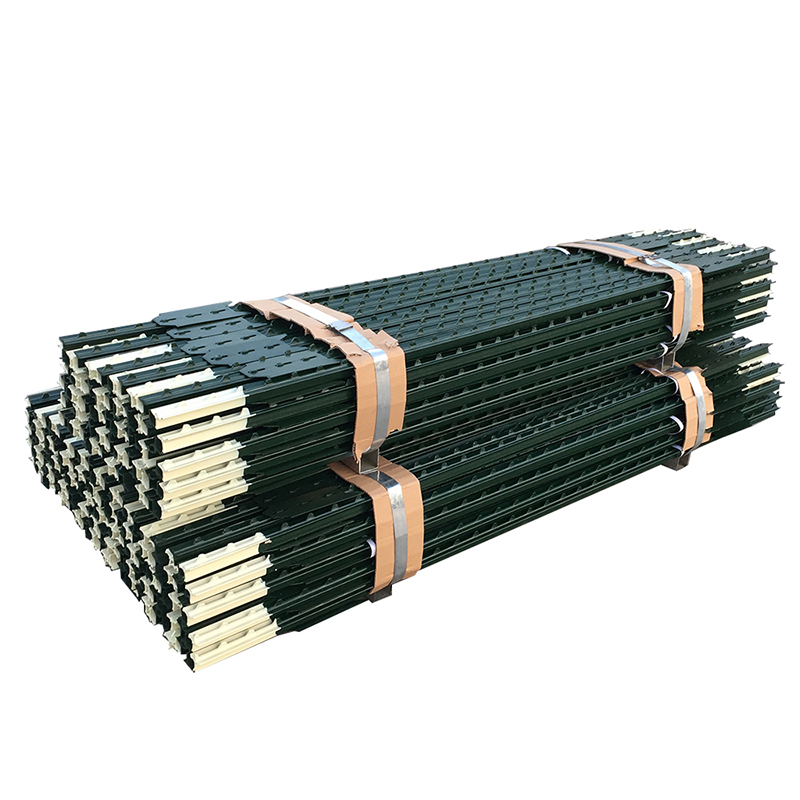
material: rail steel weight: 0.85,0.95,1.25,1.33lbs/ft etc length: 5′-10′ etc surface: painted with spade,painted no spade,unpainted with spade,unpainted without spade,hot-dipped g […]
T Post
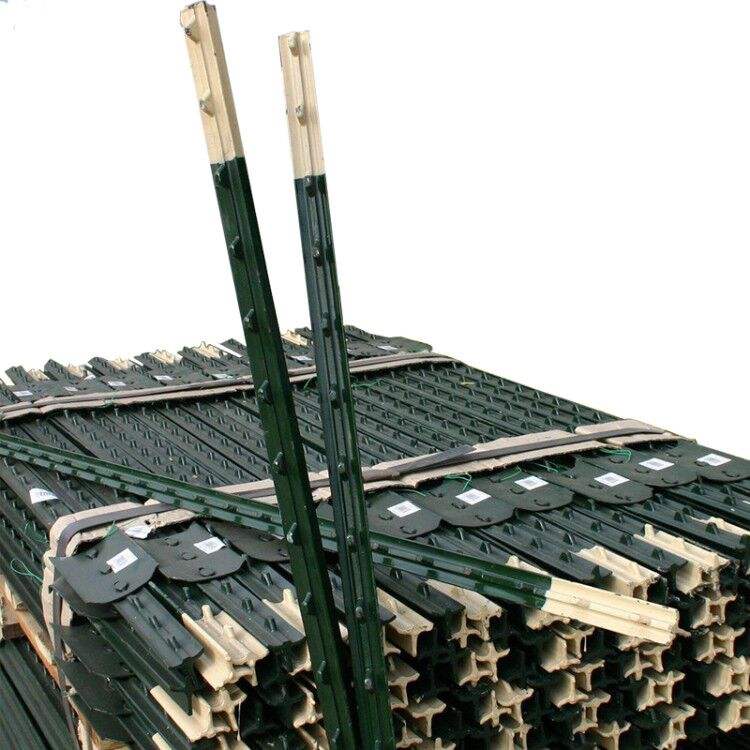
Material: rail steel Weight: 0.85,0.95,1.25,1.33lbs/ft etc Length: 5′-10′ etc Surface: painted with spade,painted no spade,unpainted with spade,unpainted without spade,hot-dipped g […]
Israel Y Post
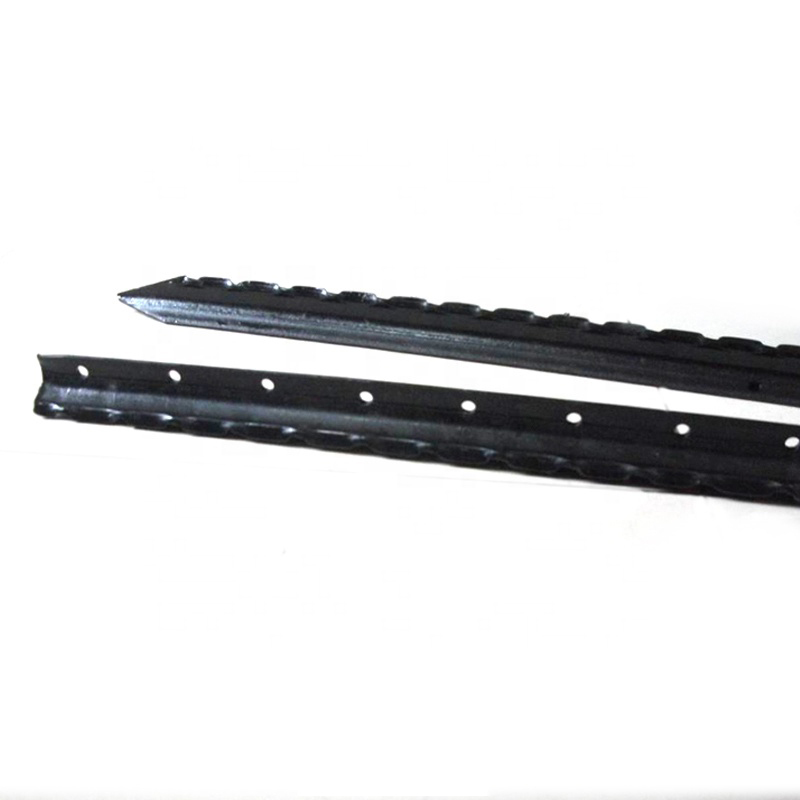
Y post with teeth provides the most reliable way of fencing wire attachment by threading the wire through the holds along the post, gripping the wire with is specially designed tee […]
Post time: 2023-08-08

